DIY Series #2: 7 DIY Flooring Mistakes That Can Cost You More Than Hiring a Pro
Thinking about laying your own flooring?
Avoid these common mistakes before they turn your weekend project into an expensive do-over.
DIY flooring can be a great way to save money and give a room (or even your whole home) a completely new look.
With modern flooring products making installation easier than ever, it's understandable that plenty of homeowners are willing to give it a go. And there's nothing wrong with that.
But there's a big difference between a DIY flooring job that saves you money and one that ends with flooring being pulled back up.
Most problems aren't caused by one huge mistake. They're usually caused by small things that were overlooked before or during installation.
Here are 7 DIY flooring mistakes worth knowing about before you start.
1. Skipping Proper Subfloor Preparation
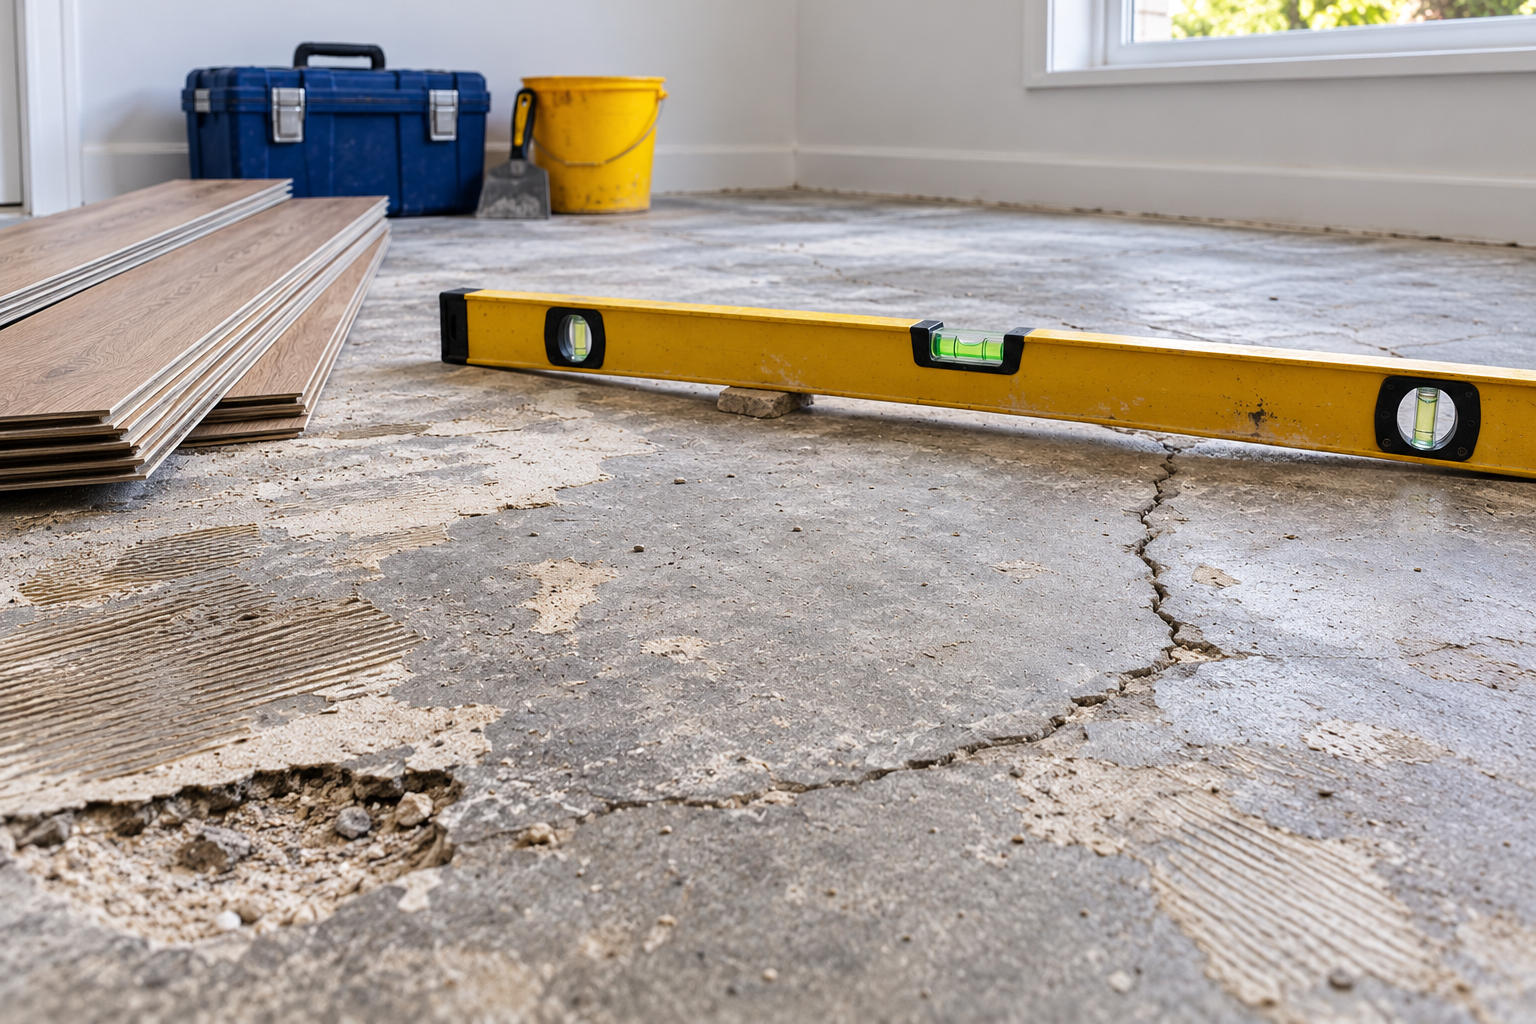
It's tempting to remove the old flooring, give the floor a quick sweep and start laying the new stuff.
Unfortunately, what's underneath your flooring matters just as much as what goes on top.
Before installation, the subfloor needs to be suitable for the flooring you're installing. Depending on the job, problems can include:
Uneven areas
Cracks
Loose or damaged boards
Old adhesive or flooring residue
Dirt and debris
High or low spots
Existing flooring that isn't suitable to install over
Small imperfections can become much bigger problems once your new flooring is installed.
You might notice movement underfoot, joins that don't sit properly or areas of the finished floor that simply don't look right.
Quick Tip: Don't rush the preparation because you're excited to start laying the floor.
Getting the base right can make the rest of the installation much easier.
2. Assuming the Floor Is Dry Because It Looks Dry
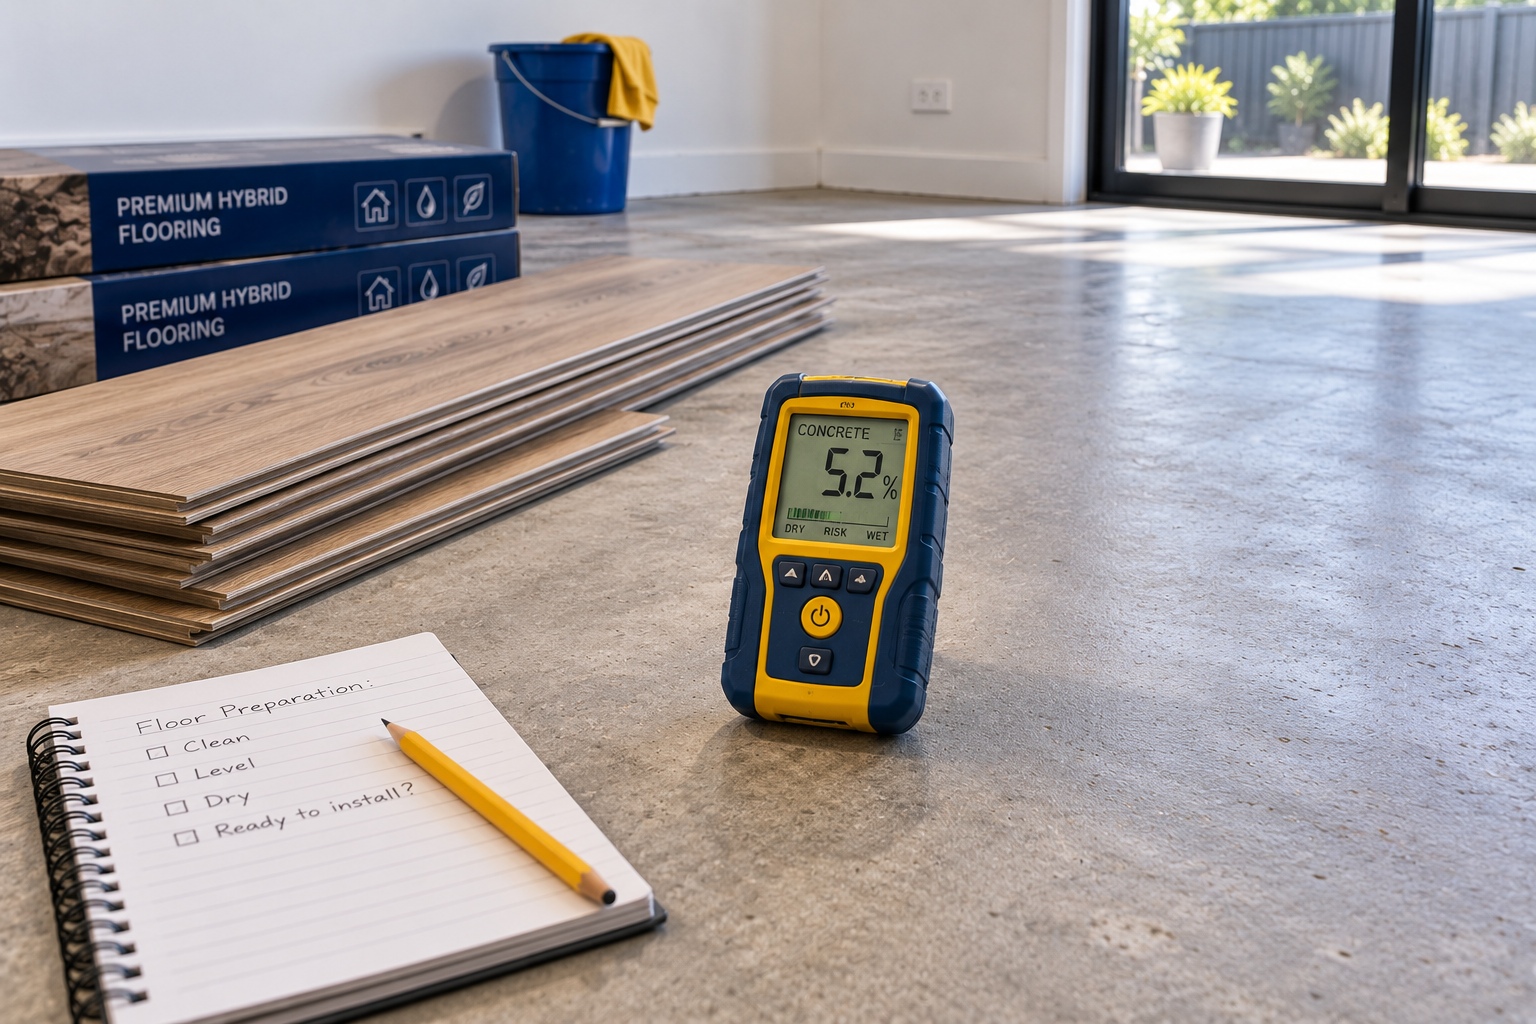
Moisture is one of those problems that's easy to ignore because you often can't see it.
A concrete slab can look perfectly dry while still containing more moisture than is suitable for the flooring you're about to install.
Excess moisture can potentially contribute to problems such as flooring movement, swelling, adhesive failure and mould or mildew.
The tricky part? These problems might not appear immediately.
Your new floor can look fantastic when you finish installing it, only for issues to develop later.
Different flooring products and installation systems can also have different requirements, so don't assume the same rules apply to everything.
Quick Tip: If you're unsure about moisture, particularly when installing over concrete, find out what testing and preparation are recommended for your flooring before you start.
3. Forgetting the Expansion Gap
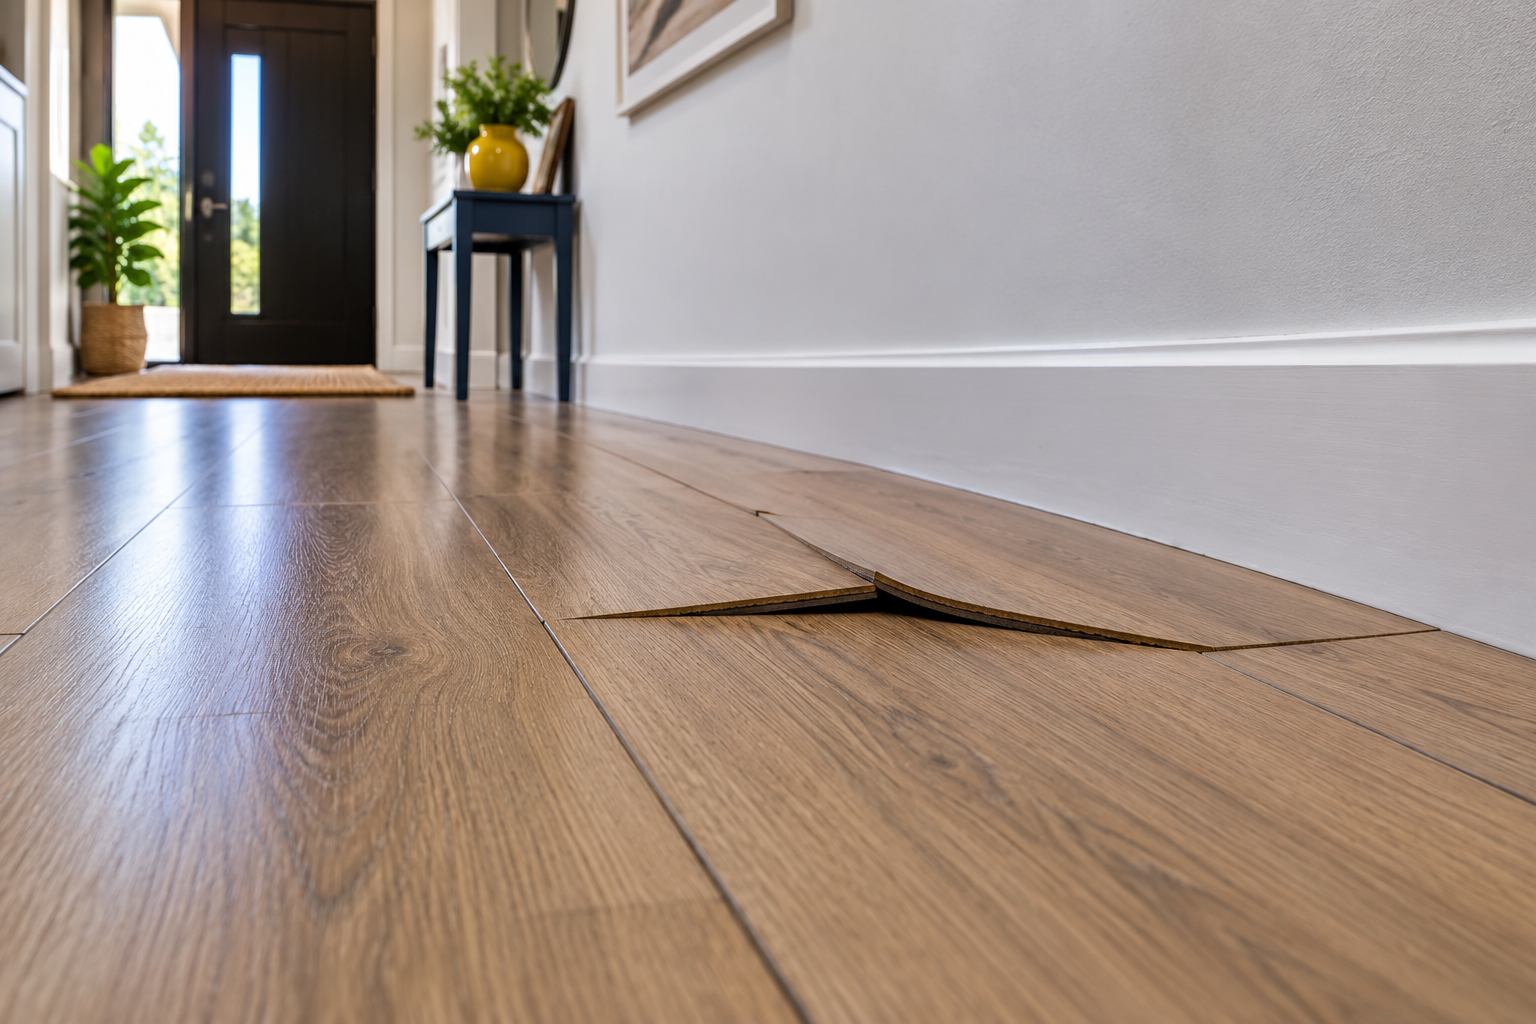
See that little gap you're supposed to leave around the edge of some floors? It's there for a reason.
Floating flooring systems can expand and contract as temperature and environmental conditions change.
If the flooring is installed hard against walls, door frames, cabinetry or other fixed objects, it may have nowhere to move.
That can potentially result in sections of the floor lifting, buckling or pushing against surrounding surfaces.
And here's where DIY installations can get caught out.
You may leave the correct gap along the obvious walls but forget about the less obvious areas, around doorways, posts, cabinetry or transitions into another room.
Once the skirting or appropriate trim is installed, the perimeter gap is generally hidden anyway.
Quick Tip: Check the manufacturer's required expansion allowance for your particular flooring rather than relying on a measurement you saw online.
4. Starting in the Corner Without Planning the Layout
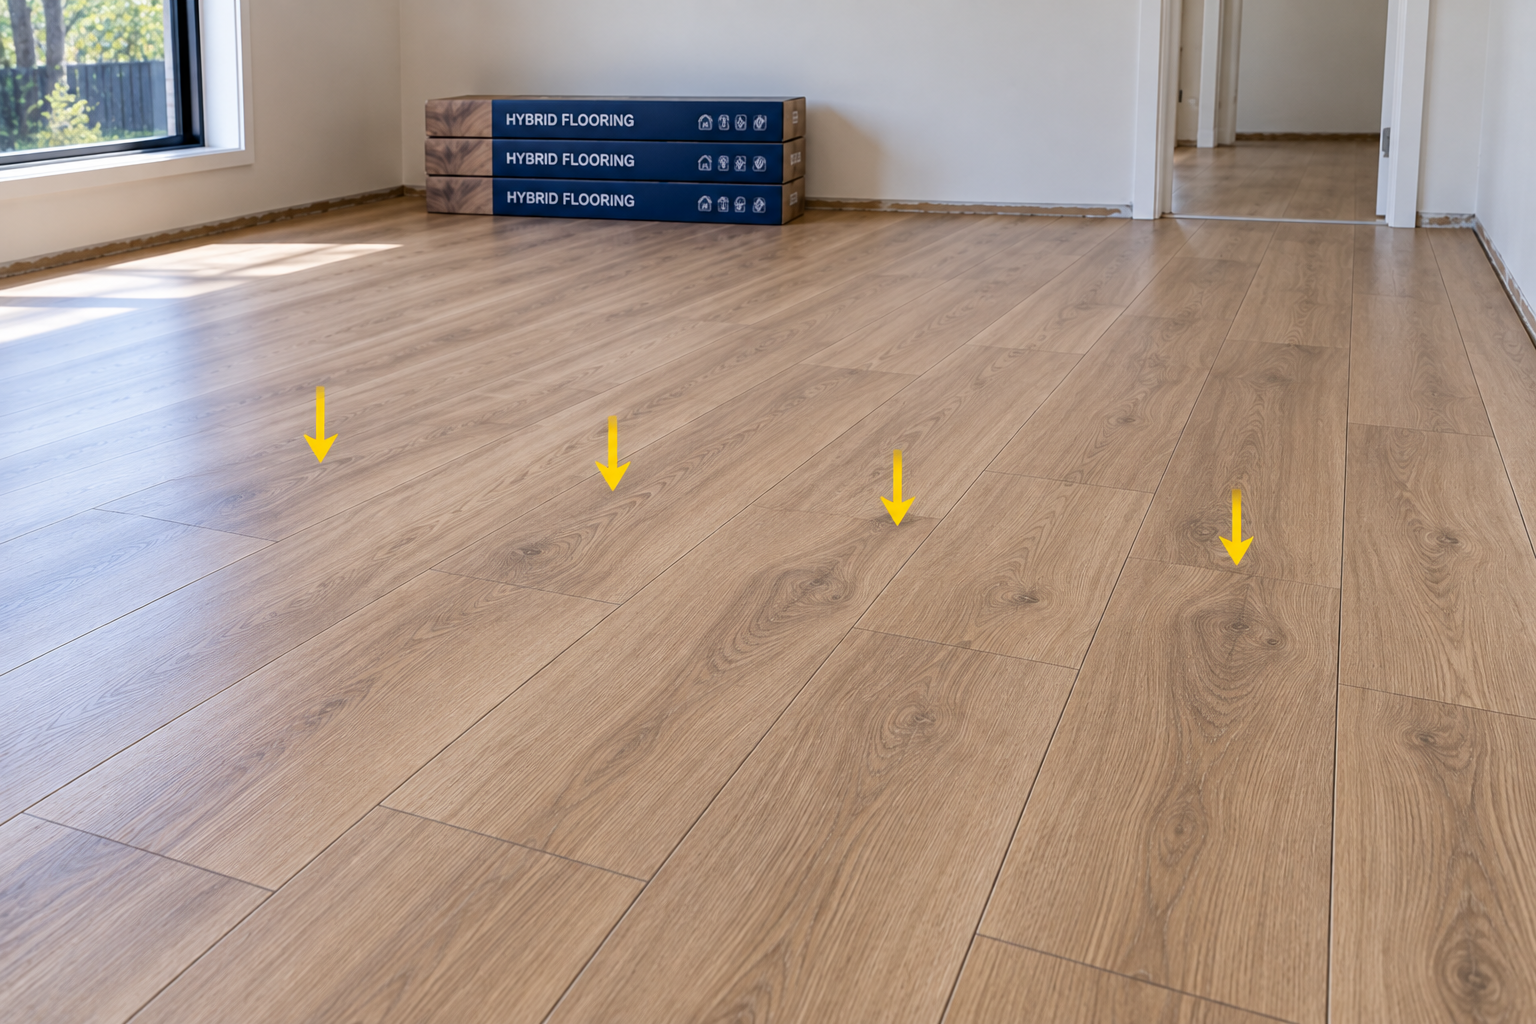
You've got the flooring.
You've got the tools.
You've opened the first box.
So you start laying.
Not so fast!
Before installing the first piece, take some time to work out how the flooring will sit across the entire room.
Think about:
Which direction the flooring will run
Where the first row will start
Where the final row will finish
Doorways
Hallways
Transitions between rooms
Awkward corners
How joins will be staggered
How different boards or planks will look beside each other
Without planning, you might reach the opposite side of the room and discover you need an awkwardly narrow strip to finish.
Or you might find that a layout that looked fine in one room creates problems when it continues into the hallway.
There's another simple trick that can make a big difference too.
Open several boxes and mix the flooring as you work.
Depending on the product, there can be subtle variations between boards or patterns. Mixing them can help create a more natural and balanced finished appearance.
Quick Tip: Spend ten minutes planning where everything will finish before making your first cut. Those ten minutes could save a lot more time later.
5. Buying Exactly the Square Metres You Measured
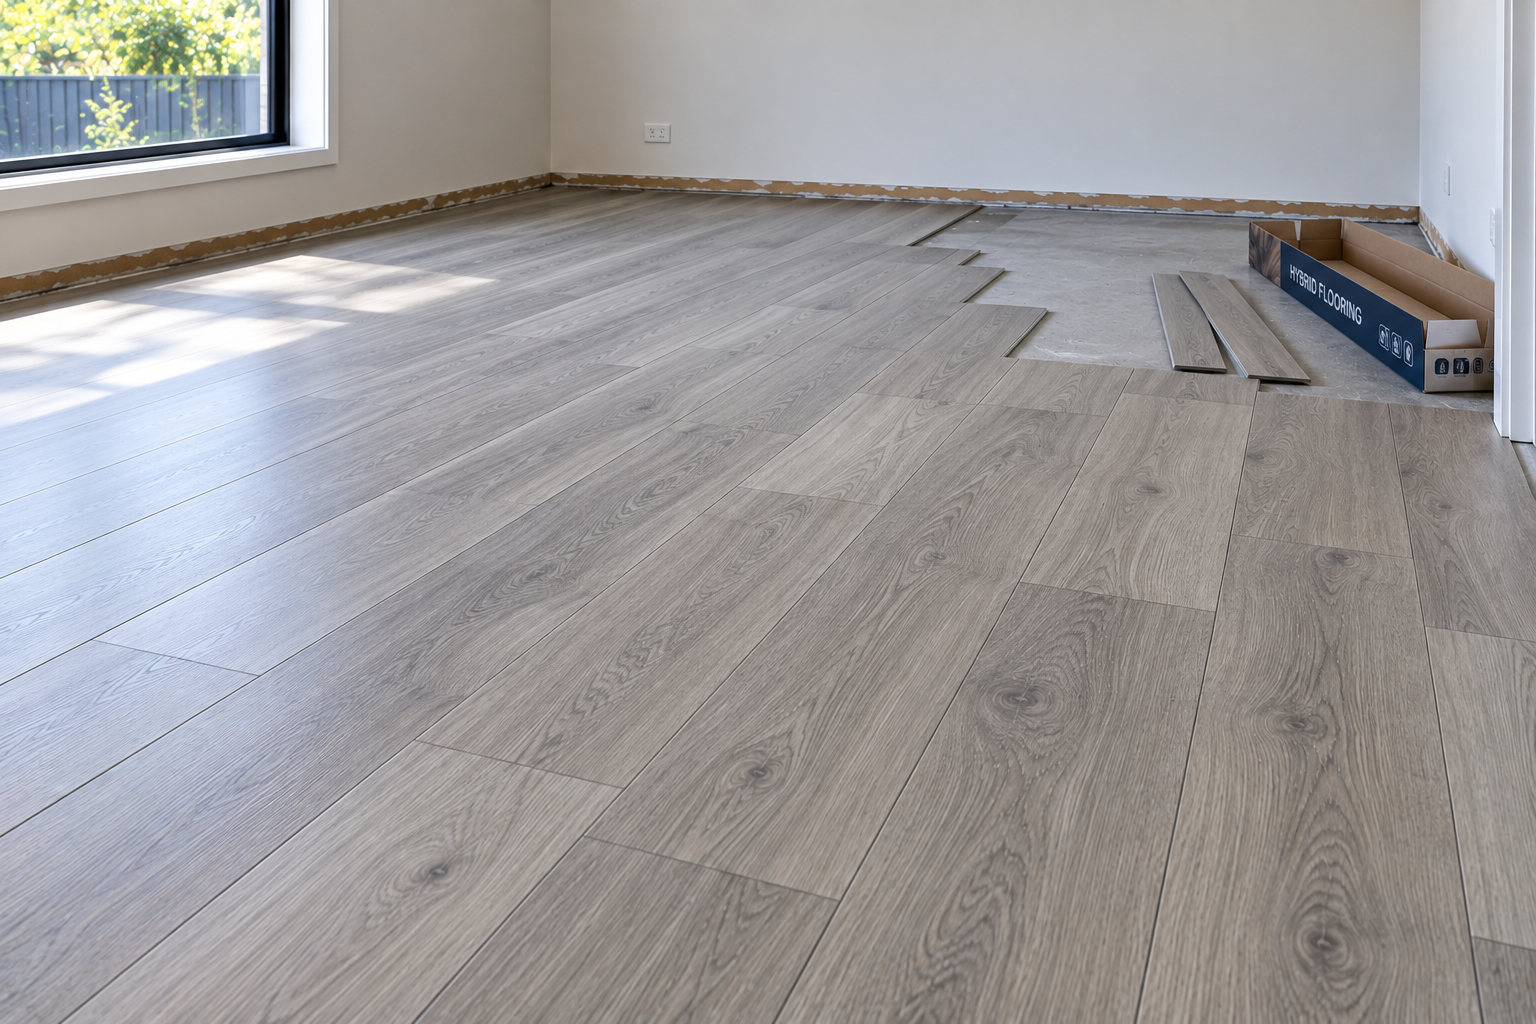
Your room measures 20 square metres. So you buy 20 square metres of flooring. Simple, right?
Not quite.
Your room measurements tell you the area that needs to be covered. They don't necessarily tell you exactly how much flooring you'll need to complete the job.
You may need additional material for cuts, waste, awkward room shapes, board selection, mistakes and other installation requirements.
The amount of extra material needed will vary depending on the flooring, installation pattern and shape of the room.
A simple rectangular bedroom may require less cutting than several connected rooms with doorways, hallways and unusual angles.
And running out isn't always as simple as buying another box.
Stock availability can change, and there can sometimes be differences between production batches.
Having a little flooring left after the job can also be useful if you ever need to replace a damaged section in the future.
Quick Tip: Before ordering, ask how much additional flooring is recommended for your particular room and product.
6. Not Reading the Installation Instructions
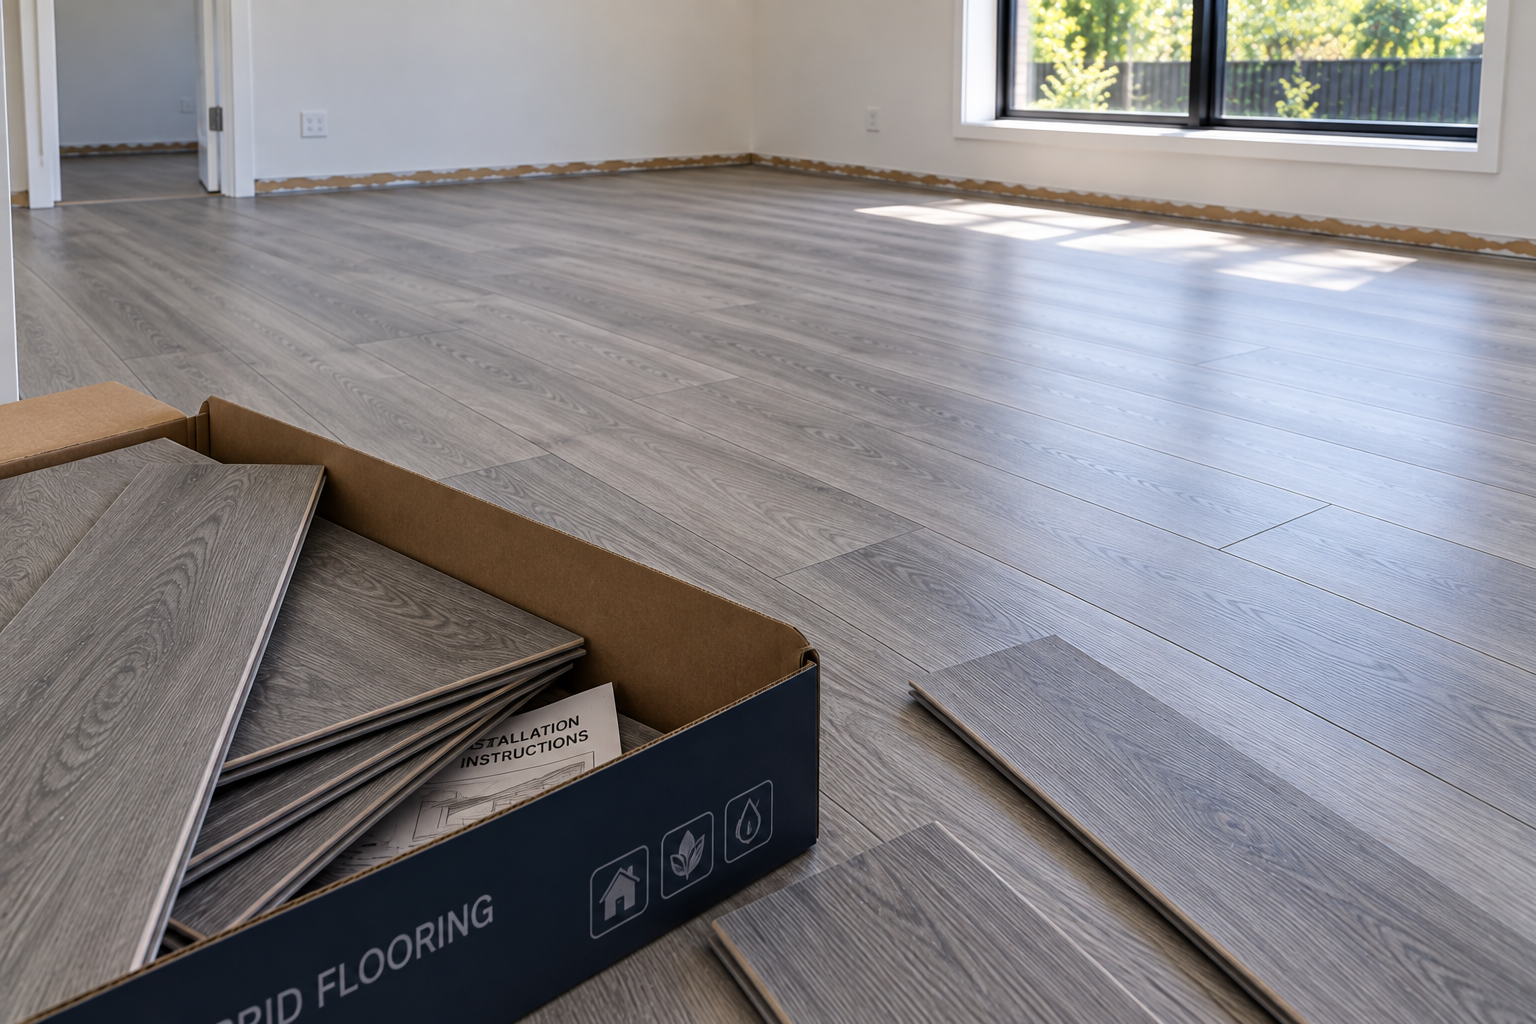
We know. Nobody gets excited about reading instructions.
But this might be the most valuable bit of reading you do before installing your floor.
Just because you've installed one type of click flooring before doesn't mean the next product will have exactly the same requirements.
Installation instructions may cover things such as:
Subfloor requirements
Moisture limits
Expansion allowances
Underlay requirements
Acclimatisation, where applicable
Maximum installation areas
Installation around fixed objects
Joining methods
Suitable rooms and locations
Manufacturer warranty requirements
This becomes particularly important if you're following an online installation video.
That video might be perfectly correct, for the flooring being used in the video. Your product could be different.
Quick Tip: Find the installation instructions for the exact product you've purchased and read them before opening every box and starting the job.
7. Choosing DIY Based Only on the Installation Cost
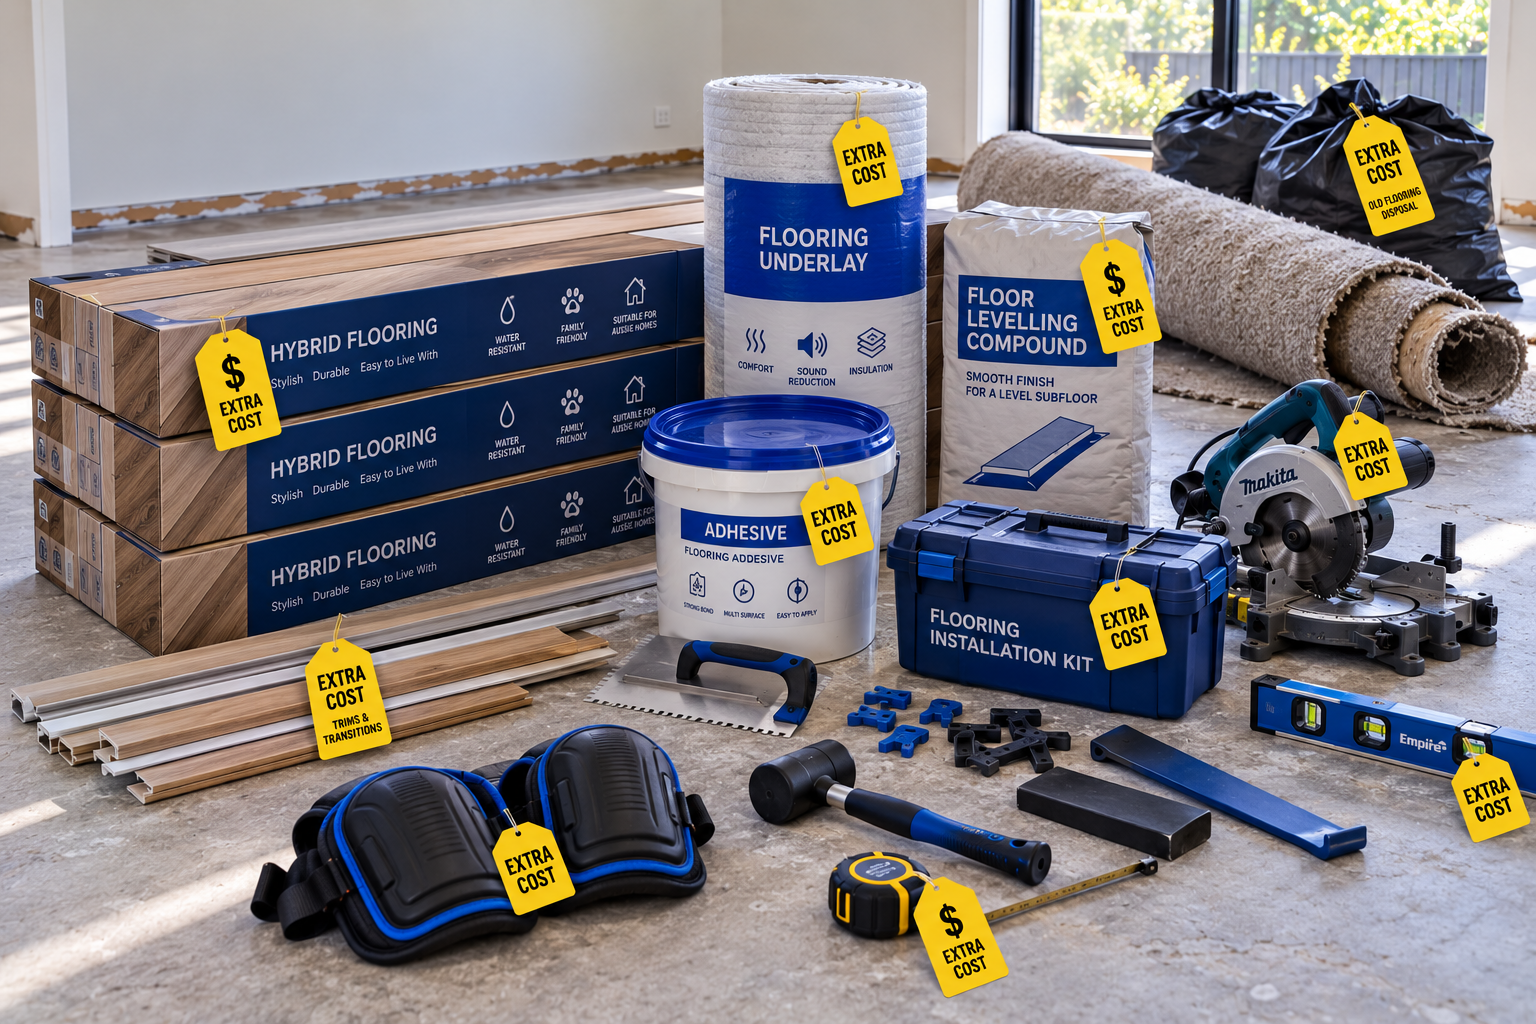
This is probably the biggest calculation people make:
DIY = no installation labour = cheaper floor.
And sometimes that's absolutely true. But when deciding whether to DIY, look at the whole job rather than just the installation charge.
Will you need to buy or hire tools?
Does the existing flooring need to be removed?
Does the subfloor require preparation?
Do you need trims, underlay, adhesives or other accessories?
How complicated are the doorways and transitions?
What are you doing with the old flooring?
How long will the installation realistically take?
And perhaps most importantly:
What happens if something goes wrong?
A simple square bedroom may be a completely different DIY project from flooring an open-plan living area connected to a kitchen, hallway and several bedrooms.
Sometimes paying for professional installation isn't just paying someone to put flooring down. You're also paying for the experience that helps identify problems before they become expensive ones.
Before You Start, Ask Yourself These 5 Questions
Before opening the first box, stop and ask:
Is my subfloor actually ready for this flooring?
Have I read the manufacturer's installation requirements?
Have I allowed enough flooring for cuts and waste?
Do I have the right tools to complete the job properly?
Am I confident handling the tricky parts—not just the easy sections in the middle of the room?
If you're comfortable with all five, DIY flooring could be a great project to tackle.
If a few of those questions have you scratching your head, it might be worth getting some advice before you begin.
DIY or Professional? There's No Wrong Answer
DIY flooring isn't something homeowners need to be scared of.
With the right product, good preparation and a little patience, it can be an incredibly satisfying home improvement project.
The important part is understanding what you're getting into before you start.
At Ron Mahers Flooring & Furniture, we can help whether you're planning to install your new flooring yourself or would rather have the job professionally installed.
If you're going DIY, talk to us about choosing a product that's suitable for your room and what you'll need before getting started.
And if you'd rather spend your weekend doing something else? We can help with that too.
Choose the right flooring.
Prepare properly.
Take your time.
And don't be afraid to ask questions before the first piece goes down.