DIY Series #1: Thinking of Laying Your Own Flooring? Read This Before You Start
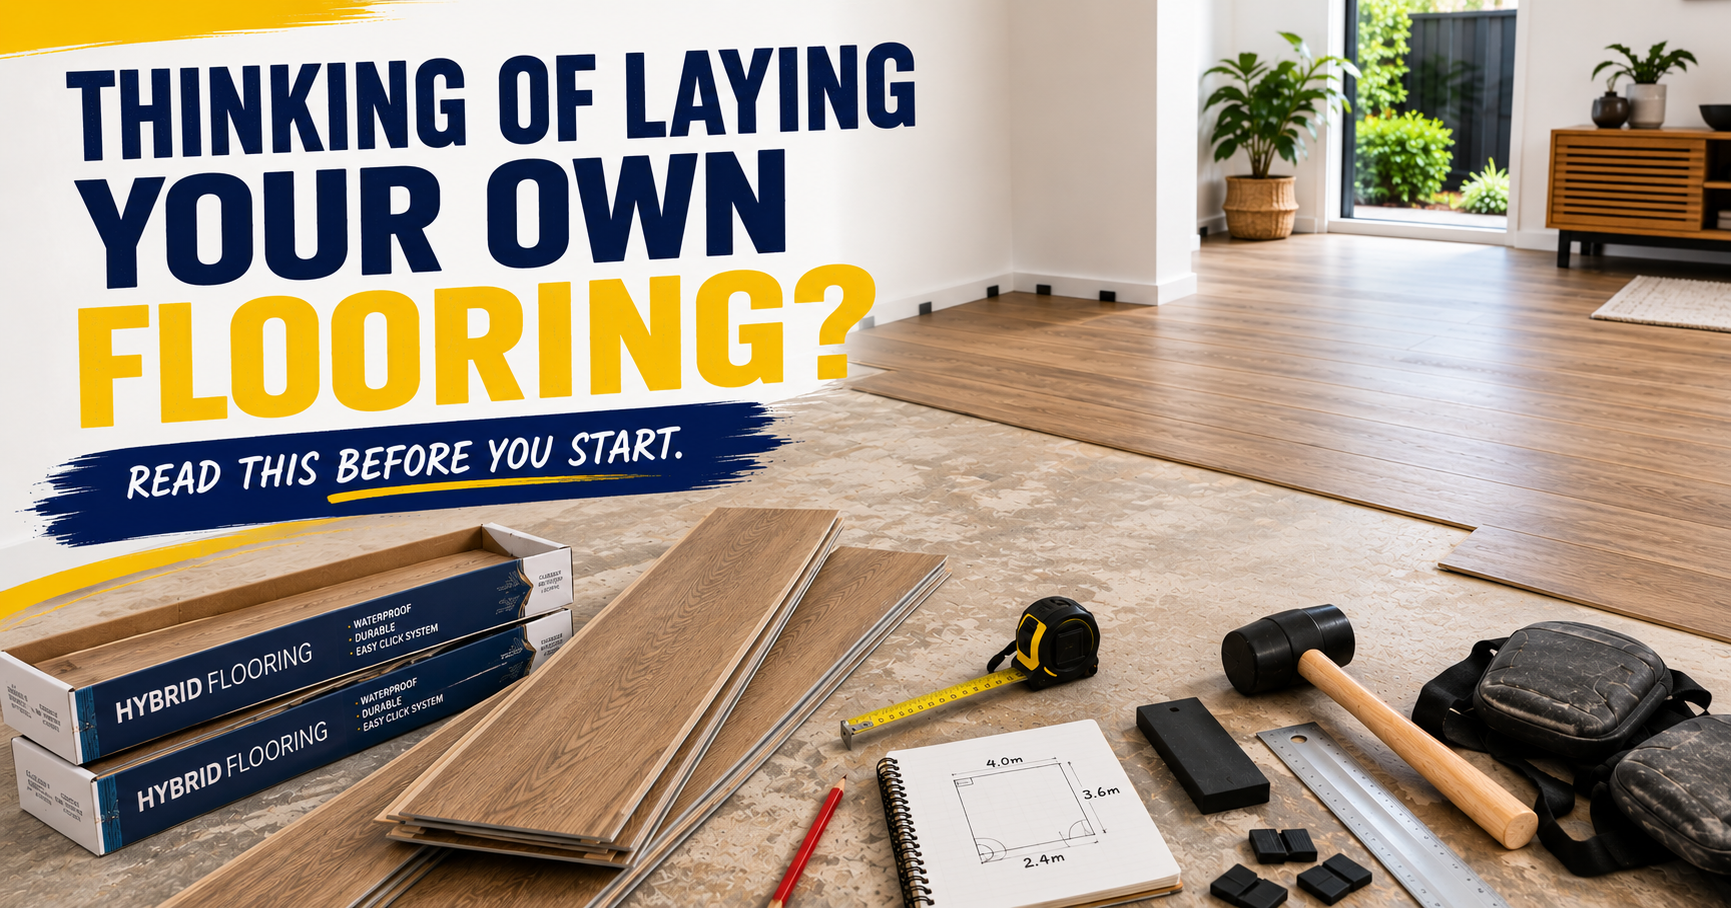
DIY flooring can save you money and completely change a room, but there’s a little more to it than clicking a few planks together.
If you’re handy around the house, laying your own flooring can be a very achievable weekend project. Hybrid and vinyl plank flooring in particular have made DIY flooring much more accessible than it once was.
But the difference between a floor that looks great and one that causes headaches six months later often comes down to what happens before the first plank is laid.
So, before you load up the trailer and start pulling up the old floor, here are a few things worth knowing.
1. Start With the Right Flooring
Not every flooring product is equally DIY-friendly.
Click-together hybrid and some floating vinyl plank systems are popular with DIY renovators because they don’t generally require the same installation process as glued flooring, sheet vinyl or carpet.
But don't choose a product simply because it's easy to install. Think about where it's going.
Is it a busy hallway? A bedroom? A living area? Does the room open onto an outdoor area? Are there kids or pets running through it every day?
The flooring still needs to suit the way your home is actually used.
DIY TIP: Tell us where the flooring is going and what you need it to handle.
We can help narrow down the options before you buy.
2. Measure Twice , Then Allow for Wastage
A room measuring 20m² doesn't necessarily mean you should buy exactly 20m² of flooring.
You'll need extra material for cuts, offcuts, damaged boards and working around walls, cupboards and doorways.
The shape of the room matters too. A simple rectangular bedroom is very different from an open-plan living area with multiple doorways, a hallway and kitchen cabinetry to work around.
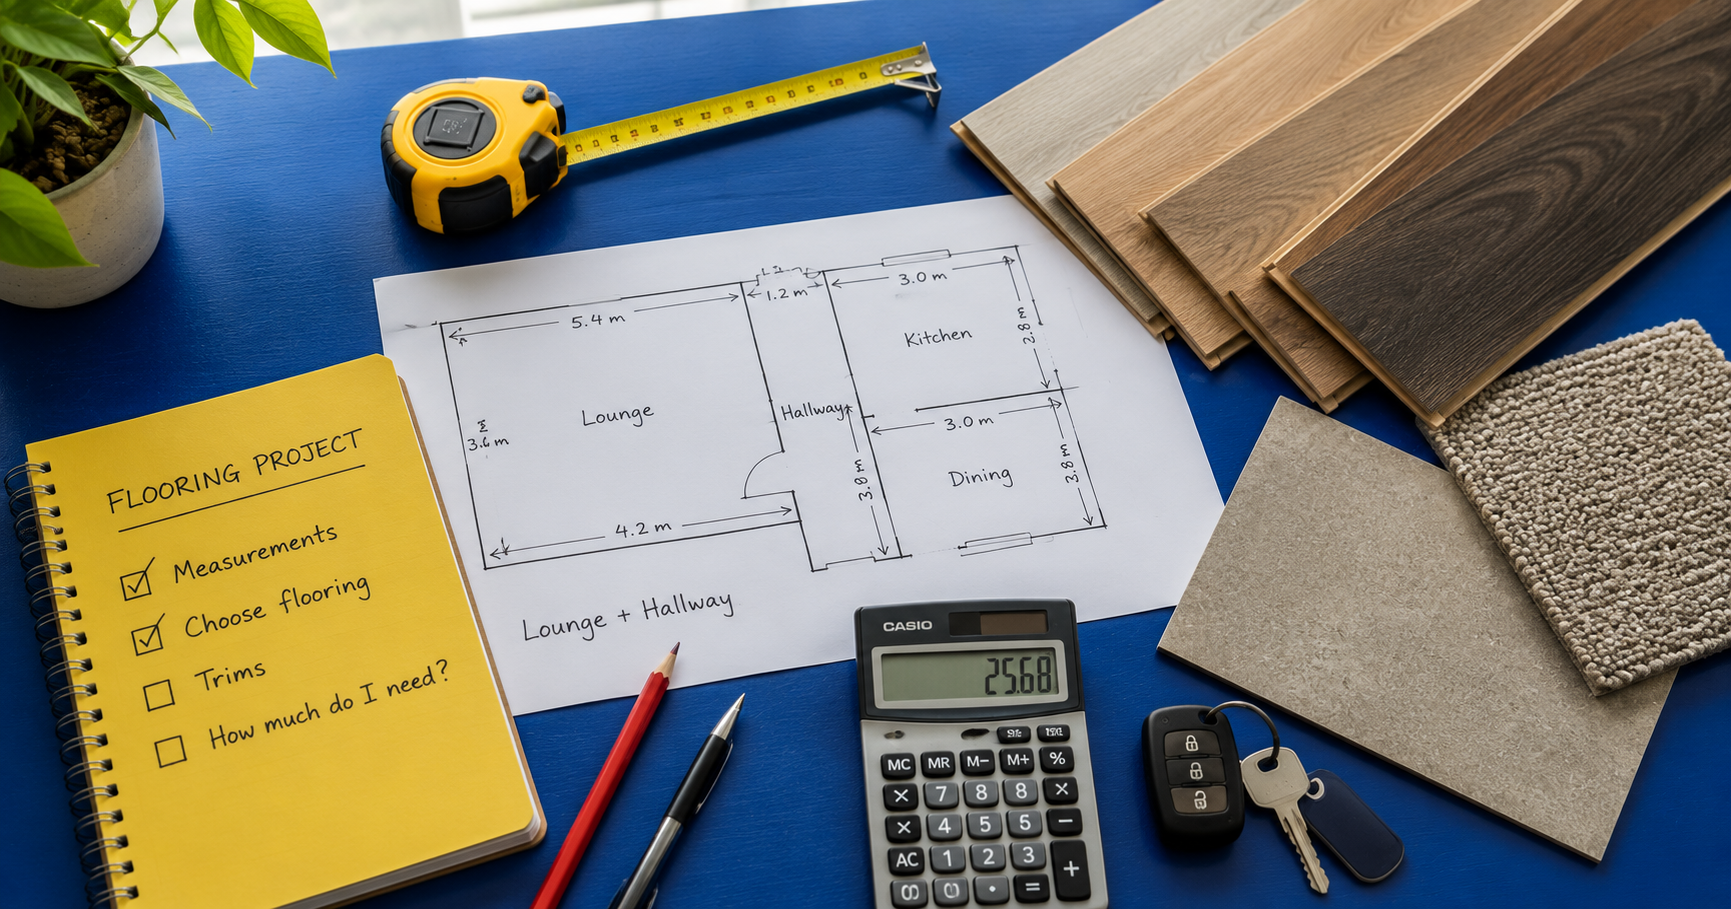
Before ordering, measure each section carefully and draw a basic floor plan with the measurements marked on it.
And yes… measure it again.
Buying a little extra at the beginning is much easier than discovering halfway through the job that you're short.
3. Don't Ignore What's Underneath
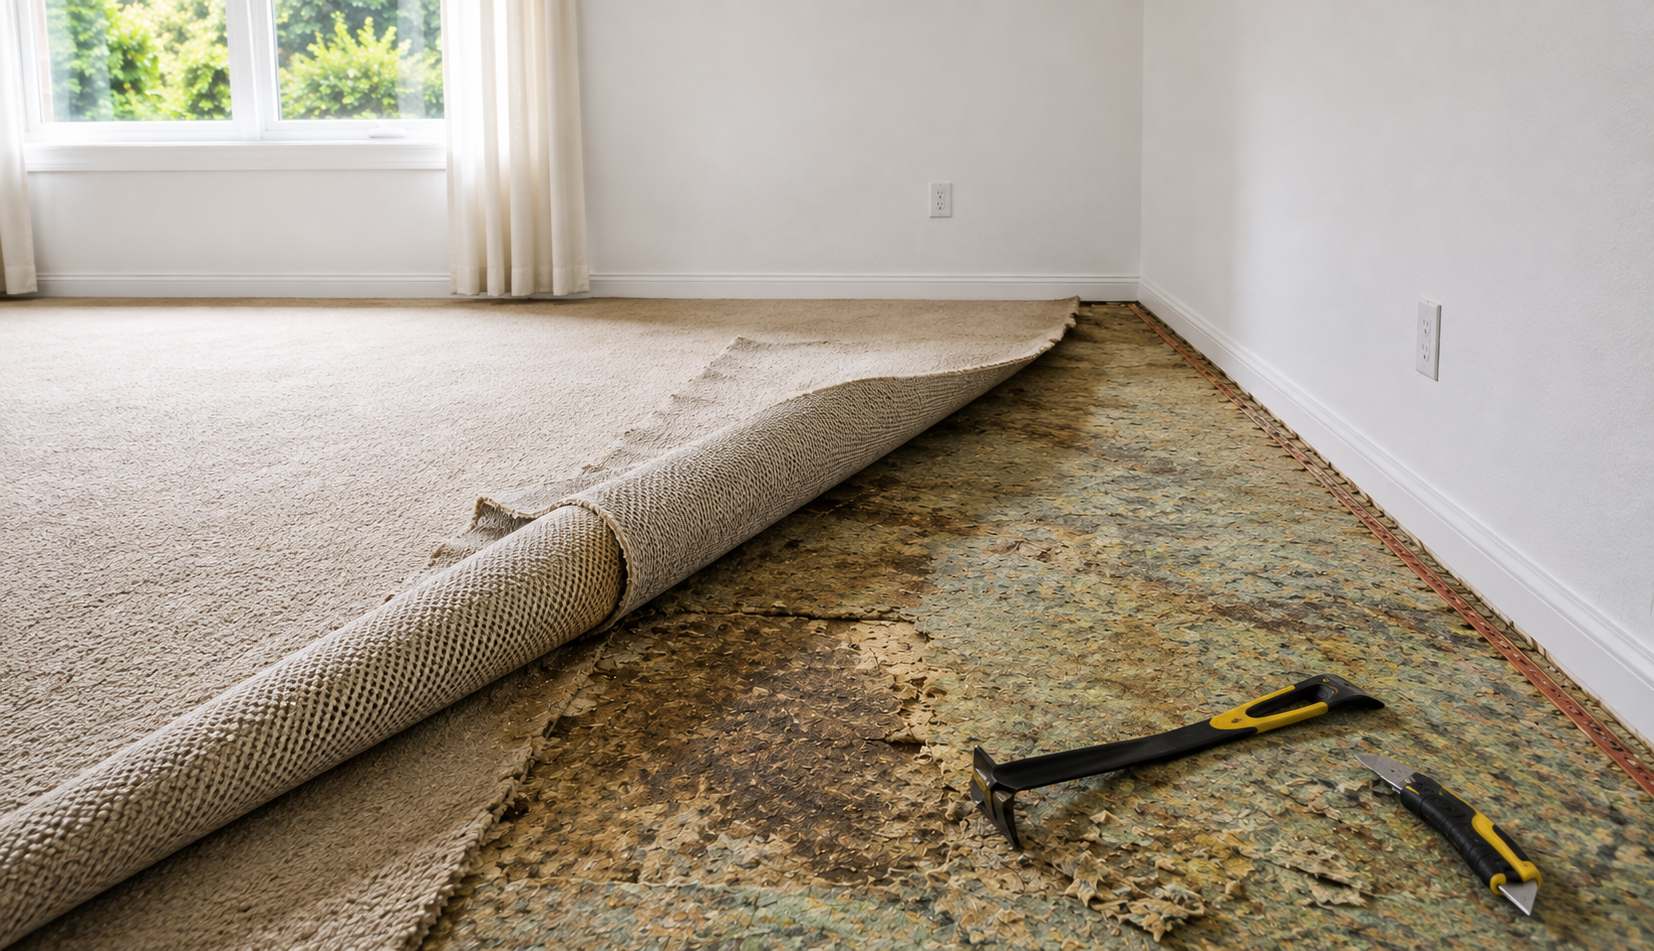
This is one of the biggest things DIY renovators can underestimate. Your new flooring is only as good as the surface underneath it.
Once the existing flooring comes up, you might discover an uneven floor, moisture, old adhesive, damaged boards, cracks or high and low spots you weren't expecting.
Floating floors need a suitable surface beneath them. If the subfloor isn't right, simply laying new flooring over it doesn't make the problem disappear.
In some cases, preparation can take longer than laying the actual floor.
It isn't the exciting part of a renovation. But it's one of the most important.
4. Check Before You Assume You Need Underlay
It's easy to assume that every floating floor needs a separate roll of underlay. That's not necessarily the case.
Some flooring products have an underlay or backing already incorporated into the product, while others require a specific type of underlay or preparation underneath.
Using something that isn't suitable can create problems rather than solve them.
Before buying extra materials, check the installation requirements for the flooring you've chosen. This is one of those questions that's much easier to answer before you get home and start the job.
5. Think About the Whole Room.. Not Just the Floor
The flooring itself might be the biggest part of the project, but it isn't the only part.
What happens around the edges?
What about the doorway into the next room?
Will you need trims or transition strips?
Do skirting boards need to come off?
Will doors still clear the floor once the new flooring is installed?
Where will you start laying so you don't end up with a tiny strip of flooring along the most visible wall?
A little planning before you begin can make the finished job look considerably better.
QUICK TIP — Keep Your Offcuts
Don’t throw usable offcuts away too quickly. The piece you cut from the end of one row may be perfect for starting another.
6. Read the Installation Instructions
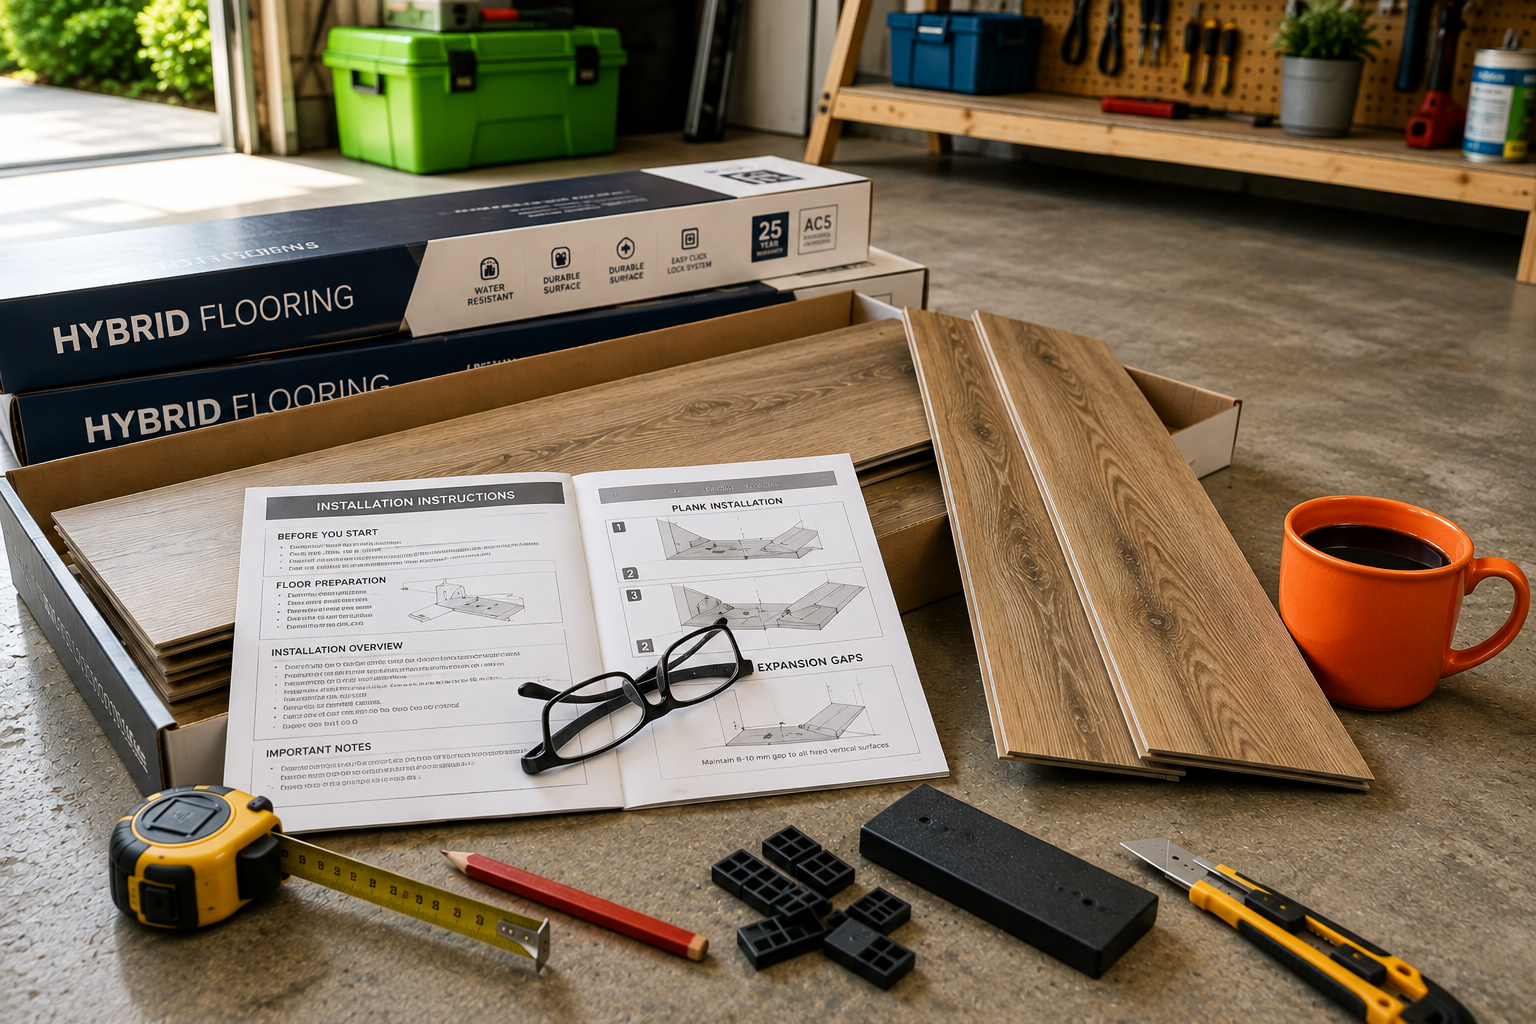
We know. Nobody gets excited about opening the instruction sheet.
But different flooring products can have different requirements, including how they should be stored before installation, subfloor requirements, expansion allowances and installation methods.
Don't assume that because you've laid one floating floor before, the next product will be exactly the same.
Take ten minutes and read the manufacturer's instructions before you start cutting anything. It could save you hours later.
7. Have the Right Tools Ready
There's nothing worse than getting halfway through a job and realising you need another tool.
What you'll need depends on the flooring you're installing, but your list may include things such as a tape measure, pencil, straight edge, spacers, tapping block, pull bar and suitable cutting equipment.
You'll also need the correct safety equipment for the tools and materials you're working with.
Work out what the job requires before installation day. A quick trip to buy a forgotten tool isn't a disaster.
Six trips can make for a very long Saturday.
8. Don't Rush the First Few Rows
Once you start seeing new flooring go down, it's tempting to move quickly.
Don't!
The first rows establish the direction and layout for everything that follows.
Take the time to make sure your layout is right, your joins are properly engaged and you're following the manufacturer's requirements.
Keep checking your work as you move across the room rather than discovering a problem when you're nearly finished.
Slow at the beginning can mean much faster at the end.
QUICK TIP — Open More Than One Box
When laying planks, mix boards from several boxes as you go. This helps spread any natural colour or pattern variation across the room.
9. Know When DIY Stops Being the Best Option
There's nothing wrong with deciding a project is bigger than you expected.
A straightforward bedroom with a suitable subfloor can be very different from tackling an entire house with uneven floors, multiple rooms, tricky transitions and lots of cutting.
There are also flooring products and installation situations that are better left to an experienced installer.
The goal isn't simply to say "I did it myself." The goal is to have a floor you're happy to live with for years.
If you're unsure, ask before you start.
10. Doing It Yourself Doesn't Mean Doing It Alone
One of the advantages of buying flooring locally is being able to actually talk to someone about your project.
Before you order your flooring, come in and tell us what you're planning. Bring your room measurements, or even a quick sketch of the area.
We can talk through the flooring options, help you work out how much you'll need and make sure you've considered the trims, accessories and other bits that are easy to forget.
And if you decide halfway through the planning that you'd rather have someone else install it? We can help with that too.
Planning a DIY flooring project?
Drop into Ron Mahers Flooring & Furnitureat 265 Alice Street, Maryborough and have a chat with us before you get started.
A few minutes of advice at the beginning can save a lot of frustration later.
DIY the labour. Get some expert advice first.